Keys: Door and Key Lookup
Look up a locked shrine, archive, chest, or dungeon door by its landmark, and find the key that opens it.
Use the Endu Shrine Gate Key from the Crypt for the fenced shrine, Budaen’s Forbidden Archives Key for the upper Tower doors, and the Blood Angel Josami Key for the large red door in the Forgotten Dungeon. For a triangular socket, a Trident slot, or a colored jewel, identify the lock type first.
Updated
Sources checked
Match the landmark to its key
Scroll sideways for more columns. Use the arrow keys when the table is focused.
| Door or chest | Key | Find it here |
|---|---|---|
| Fenced Endu Shrine gate on the coast of the Isle of Neasied | Endu Shrine Gate Key | Open the Crypt in the clearing beyond Knight’s Encampment by throwing a dagger at the diamond target. Go to the altar on the lowest floor and take the key. At the shrine it opens the way to the Shrine Guardian and Holy Sword Endu. |
| Locked Archives doors on the upper Tower of Knowledge route | Forbidden Archives Key | From the Storm Gem stair area, dash down to the lever by the railing and rotate the staircase. Ascend the new route, take the right-hand elevator down, and talk to Budaen beyond the east door. Return upstairs for the Archives. |
| Locked chest beside the bridge at the old knight’s camp on the mausoleum approach | Knights Expedition Chest Key | From the Mask of Second Sight room, go up the spiral stairs toward the Deimpo Mausoleum Wing Altar. The key rests on a bag beyond the door at the top. The locked chest contains Gius’s Reach. |
| Two locked chests at the Iryupe Raiders’ wreck off Obmuer | Iryupe Raiders Treasure Key (Raiders’ Chest Key) | Return all four Fallen Raider’s Necklaces to Captain Aganmi at his camp. Near the site of the raider on the isolated grassy platform, look past the bushes toward the wreck and dash across the small islands. Use the key for Wraith Blade and the Elegant Compass. |
| Shop door on Umbada’s Islet | Umbada’s Trading Outpost Key | From the east edge of the mausoleum roof, use the Cestus uppercut and four Wind Dashes, then Pandora Blade’s forward dash to reach the islet. Follow the cave and climb to the mossy bridge. Defeat the Forgotten Sentinel there for the key. Normal shop travel is available through the Stone Duck Figurine at a Crystal Monument. |
| Large red door inside the Forgotten Dungeon | Blood Angel Josami Key | From Crumbling Fortress in the Rotting Cavern, go toward the ruins linking to Verdant Hollow. Clear the ritual encounter around the round red pool to obtain the key. Return to the red door for the Blood Angel Lords, Yuumed and Woyeki. |
Use the shape of an unfamiliar lock
Scroll sideways for more columns. Use the arrow keys when the table is focused.
| What you see | What to use |
|---|---|
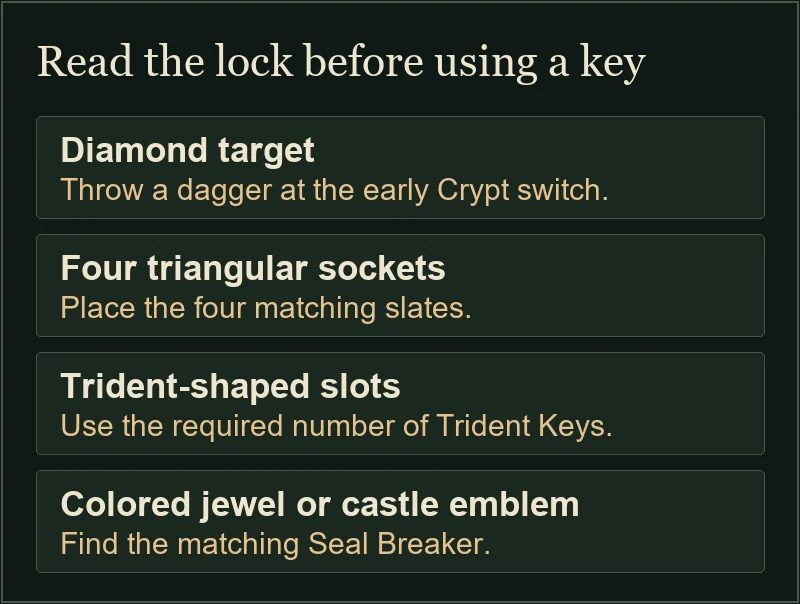
| A small diamond-shaped target beside the early Crypt door | Throw a dagger into the target. The Endu Shrine Gate Key is inside the Crypt, for the shrine gate elsewhere. |
| Four triangular sockets beside the statue holding the Trident | Use all four Triangular Slates from the flooded ruins. The Rotting Cavern’s shrine door takes its own four Dark Triangular Slates. |
| One or more Trident-shaped sockets | Use the number of Trident Keys the lock shows. The Obmuer Temple cavern’s left door takes one. The right door takes three, including keys pulled out of previously used locks. |
| A built-in colored jewel or a Castle suit emblem | Use the matching Seal Breaker. The Cobalt Blue breaker opens the Ancient World power towers. The Emerald Trident Key is for a Trident slot. |
| The large door below the Ceremonial Stone Tiara puzzle | Bring the three Jigeki Key pieces from the mausoleum spider caves, the Gigantic Serf, and the cave below the castle bridge. |
- Find the four slates for Obmuer Temple
- Find the five reusable Trident Keys
- Match a seal breaker to its color
- Check each Jigeki Key piece on the lens route